How to Effectively Grow and Manage Oil Palm Seedlings in a Nursery
Oil Palm seeds are not planted directly on the field, the seeds are raised in a nursery before it’s been transferred into the open field. The process starts with sourcing for good seeds.
How to Source for the Right Oil Palm Seeds for your Nursery
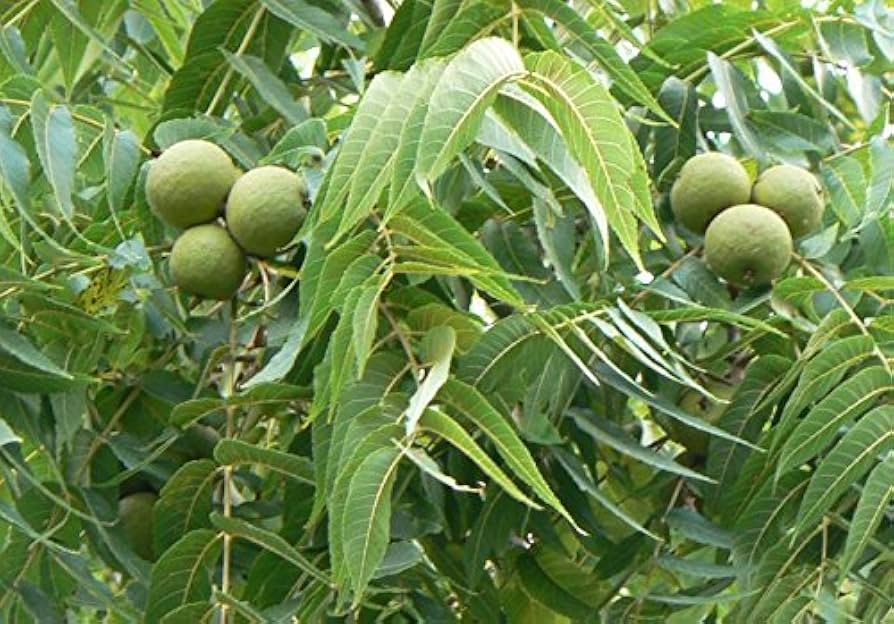
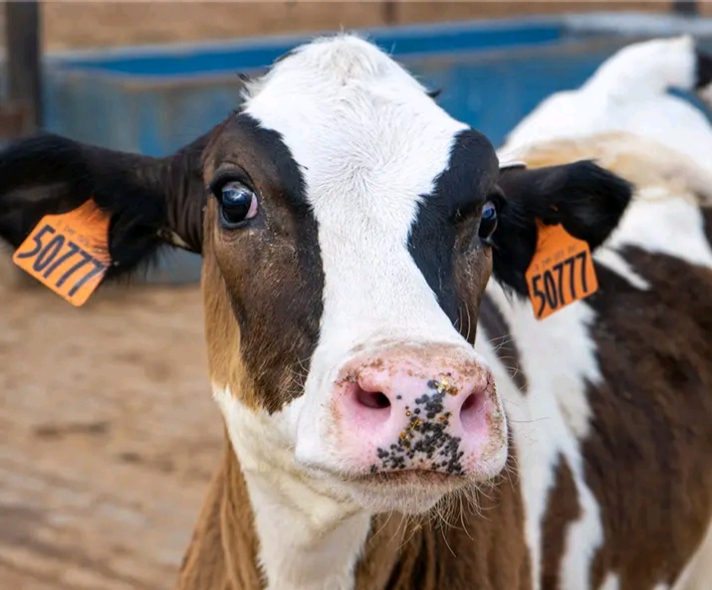
There are two commonly grown oil palm seeds which are Tenera and Supergene oil palm sprouted seeds, It’s important to know that the source of your seeds is vitall and that your seeds are bought from a trustworthy source or a famous research organization.
Before you acquire any germinated seeds, make sure your supplier is reliable so that uncertified sellers do not give you bad sprouted oil palm seeds. Only certified pre-germinated oil palm seed from established, reliable vendors should be utilized.
It is good to know that some smallholder oil palm growers gather germinated seeds from old Tenera trees or wild trees (Dura) and cultivate them in a nursery before planting them on the palm farm.
These farmers believe that the seeds would generate a large yield in the future, similar to the trees from which they originated. Unfortunately, this is not always the case. These gathered seeds do not have the same production potential as the mother tree and frequently result in low-yielding, underdeveloped plants.
Collecting germinated seeds from under ancient palms is pointless. It can be a waste of your time, money, effort, and other resources. For your nursery, only utilize genuine certified pre-germinated seeds from a reputable provider.
Choose a Good Location for your Oil Palm Nursery
You should choose a suitable location for your oil palm nursery. It makes a significant impact in how well your seedlings develop. .
Consider how many seedlings you want to plant in the nursery. A limited number of trees require a tiny nursery area and less potting material. It is crucial to locate the nursery near a water supply that does not run dry but does not overflow after severe rains.
When deciding where to open your nursery, you should consider the following factors
- Choose a level area where rainwater does not puddle.
- Choose a location near a clean water supply. For example, beside a year-round stream, creek, or river where you may water your seedlings during the nursery period.
During severe rains, you should ensure that the area does not flood due to high water levels in the stream or river. - Choose a place that is not shadowed by other crops, woodland, or shade trees.
- You should look for a location with enough of good top soil (loamy soil) and enough space to fill your nursery bags twice.
- Choose a location that can be readily guarded against theft, vandalism, (wild) animals, and pests. A little area near your home may be the safest and most convenient place to be safe.
- You should locate your nursery near the field where mature seedlings will be planted.
The Tools Required for Effectiveness on your Oil Palm Nursery
There are basic equipment required to effectively set up and run an oil palm nursery. These equipment and materials are a wheelbarrow, cutlass, hoe, shovel, digger, watering can, pot
Factors to Look Out for in Setting up the Oil Palm Nursery
- Brush and clean the nursery site, removing all trees, stumps, logs, and trash from the area where you will establish the nursery.
- Find suitable soil near the brushing spot and excavate loamy soil to fill your poly bags with germinated seedlings.
- Gather the soil you’ll use to fill the plastic bags with germinated seedlings.
- Clean and enhance the soil quality before filling the plastic bags. Clean the soil of diseases by gathering dry grass, leaves, or other dry materials and burning them to destroy any soil-borne diseases that may infect the newly sprouted seeds.
To raise the pH level, mix the ashes from the bunrt grasses into the soil. If you can find dried goat or cow dung, incorporate it into the soil. That will appeal to the seedlings and promote their growth.
- Turn the bags inside out. When filling the nursery bags, flip them inside out so that they sit straight. Also, make sure the bag isn’t filled with huge stones, roots, or dirt.
- Arrange them in and between rows, space them 1 meter (1 large step) apart. Make sure you have adequate space to move around the plants when the seeds have grown in a few months.
Place the seedlings in a straight line to make it simpler to notice weeds
- Use dry or lightly damp soil. When putting the dirt in the bag, make sure it’s not damp. Wet soil can eventually condense into a solid clod, which is bad for root development.
- Use wood framing to keep the filled bags from toppling over, arrange them in wooden frames.
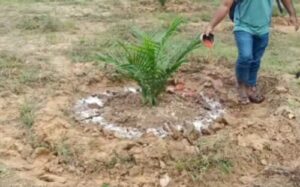
- Create a shelter with indigenous resources like round poles, bamboos, and palm fronds/thatches. To provide initial shade for the germinated seeds, cover the shelter with palm fronds or thatch.
- Fence the nursery site with net, wire mesh or any good material to keep out rooming animals (pigs, goats, calves, etc.) and intruders or unauthorized people.
- Prepare before the certified pre-germinated seeds arrive. Make sure the nursery is ready (poly pots full, fenced nursery ready, thatched roof ready, and workers available to plant and water the poly pots) before the germinated seeds arrive. It is advisable to fill all poly bags 1-2 weeks before the seeds arrives.
- Pot pre-germinated seeds immediately. When you receive your ordered pre-germinated certified seeds, plant them within one day. If seeding is delayed for whatever reason, pre-germinated seeds should be kept in a cold environment to slow root elongation.
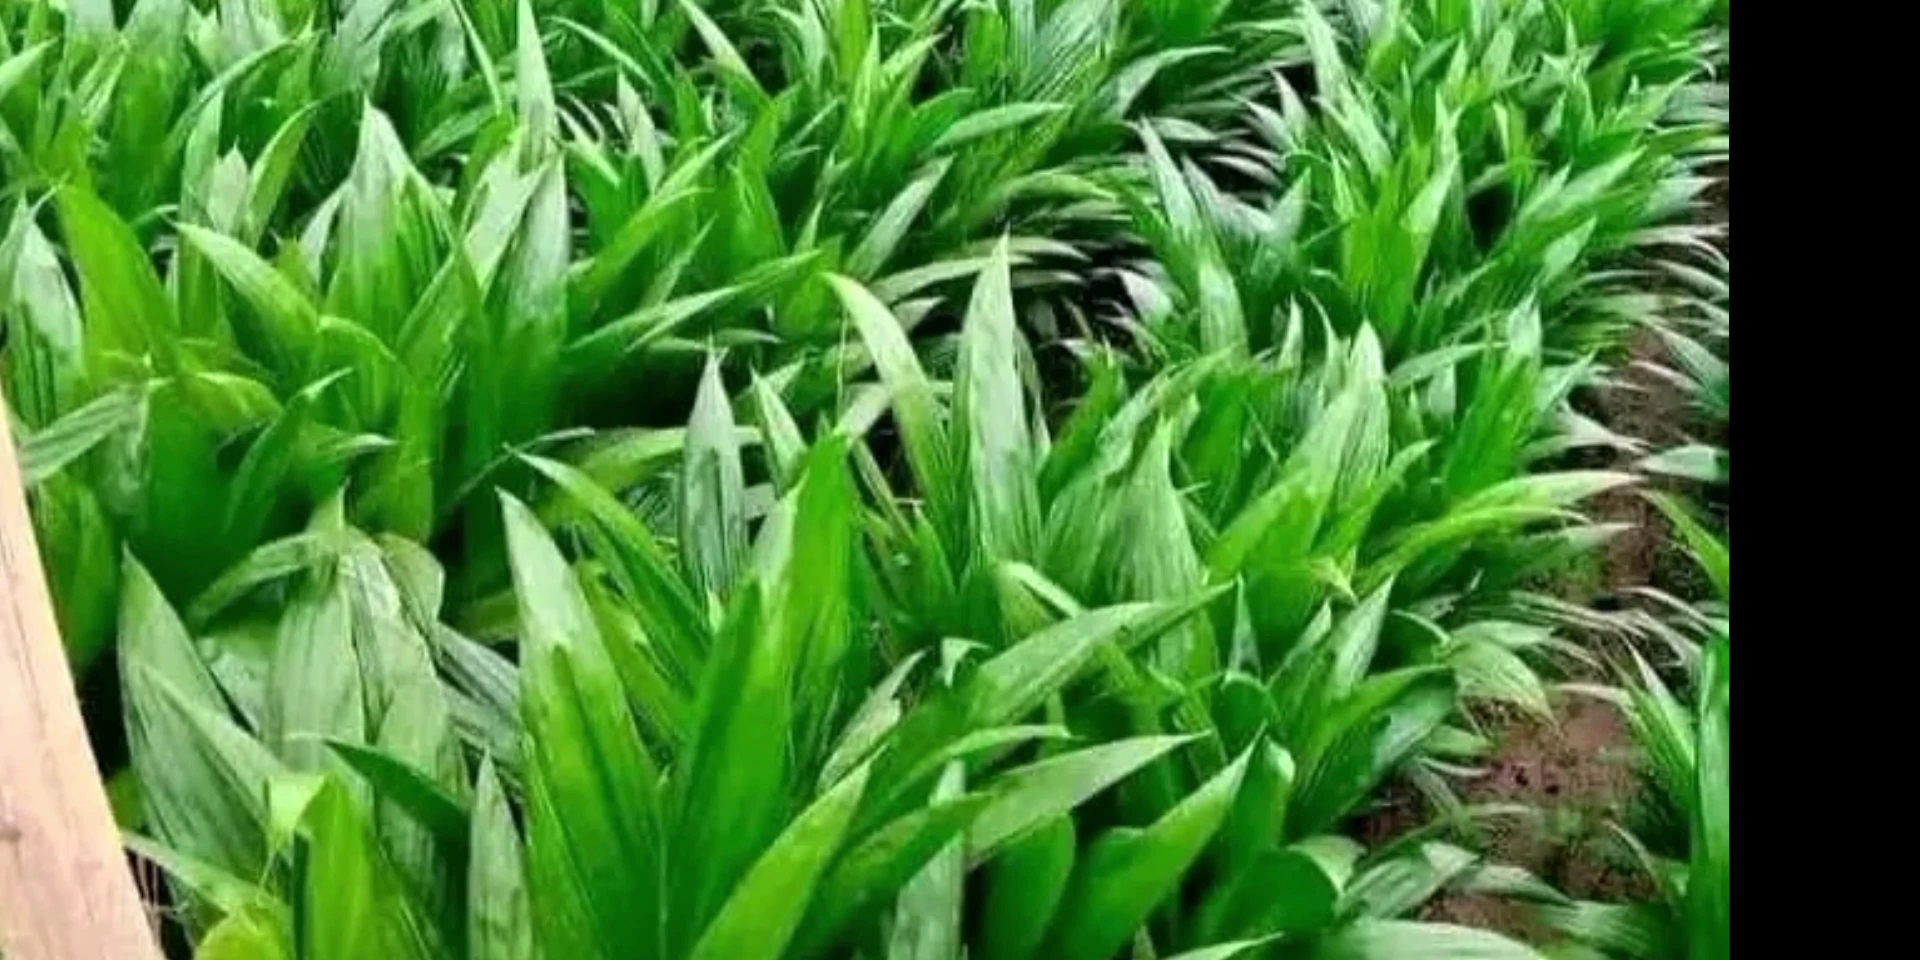
Planting your Pre-germinated Oil Palm Seeds in the Poly Bag
After filling the little poly bags with top loamy soil, water them one day before planting the germinated seeds, but do not soak them to make them watery. When you receive the certified pre-germinated seeds from your supplier, store them in the shade.
When the seed package is opened, keep the seeds wet by spraying them with clean water. DON’T store your seeds for too long. Plant the seeds in the poly bag containers on the same day or the next.
Planting is easier when done in groups of two. The’seed handler’ (the person who removes the seeds from the bag) lays the seed on the soil (approximately two fingers below the top of the bag) with the root facing downward.
After covering the seed with soil, the ‘planter’ sets it appropriately, with the shoot tip approximately one finger below the surface. The ‘planter’ carefully stamps and levels the new dirt with the palm of his or her hand.
You should not bury the germinated seed deeply in the soil since the young plant will not thrive. Water your seedlings right after you’ve done planting.
You must give shade for the first six weeks. Full sunlight can harm and “burn” plants. To shade the young plant, place palm fronds on palm thatch.
How to Manage Oil Palm Pre-Nursery
After planting your certified seeds in plastic bags and storing them in a fenced-in area with a shade canopy, visit your nursery every other day.
Watering your Oil Palm Nursery
Water your young seedlings on a regular basis, particularly if it does not rain every day. When it hasn’t rained in two days, water the seeds twice a day (in the morning and evening).
Check to see if the trees are healthy and do not exhibit symptoms of water stress (brown leaf margins). Water scarcity will harm plants and stunt tree growth. It can make trees more sensitive to diseases and termite attacks.
Create Less Shadow for your Grown Oil Palm Nursery
After 6-8 weeks, you should begin to remove portions of the palm thatch. After two months of pre-nursery development, remove part of the palm thatches to minimize the shade, gradually exposing the seedlings to sunlight to begin the process of ”hardening” them.
Weeding the Oil Palm Nursery
You should eradicate all weeds twice a week. Make sure all weeds are eradicated from the nursery. Keep the nursery free of weeds. Weeds compete with seedlings for water and plant nutrients. Weeds can also harbor illnesses and pests.
Zero Shadow for your Grown Oil Palm Nursery
Remove all shade thatch. In the last two weeks of the three months, you must remove portion of the thatch that shadows the seedlings in the pre-nursery on a daily basis in order to expose the seedlings to more sunlight.
Apply Manure or Chemical Fertilizers to the Seedlings in your Nursery.
Giving manure or chemical fertilizers to your seedlings is critical. Seedlings require plant nutrients to grow and develop strength.
How to Fertilize your seedlings
When filling the poly bags, mix in compost and manure (for example, chicken, goat, and cow droppings). Give it to the plants in the morning, at their base.
Once the first leaves have emerged, apply NPK (15: 15:15) or Urea When your seedlings have formed their first leaves, apply a little amount of NPK (or Urea) fertilizer. This is around one month after sowing the seed in the plastic bag.
Do not water after applying fertilizer. The seedling should not be watered on the same day that the fertilizer was applied since it will be rinsed away.
You should not fertilize the seedling when it appears like it is going to rain since the rain will wash the fertilizer out of the soil.
You should apply fertilizer once every week.. When watering the young plants, make sure that the fertilizer is fully dissolved in the water.
No solid fertilizer gets on the leaves. Make careful to apply the water-borne fertilizer to the soil at the plant’s base. Avoid soaking the leaves to avoid burning or scorching.
As from 8 months old your seedlings are ready for transplant into the field. Apply water after transplanting all of your seedlings, water them the same day. This promotes the root growth of the plant
Your trees may be attacked by grass cutters, rats, porcupines (hedgehogs), and livestock that you or your neighbors raise, such as sheep or goats. It is critical to examine and inspect your nursery fence on a daily basis to ensure that no animals may pass through.